Damp & waterproofingGeneral guide10 October 20265 min read
Bathroom waterproofing before tiling: the inspection checklist.
Check bathroom substrates, falls, drains, joints and penetrations before tiling. Define testing and trade responsibilities while waterproofing is visible.
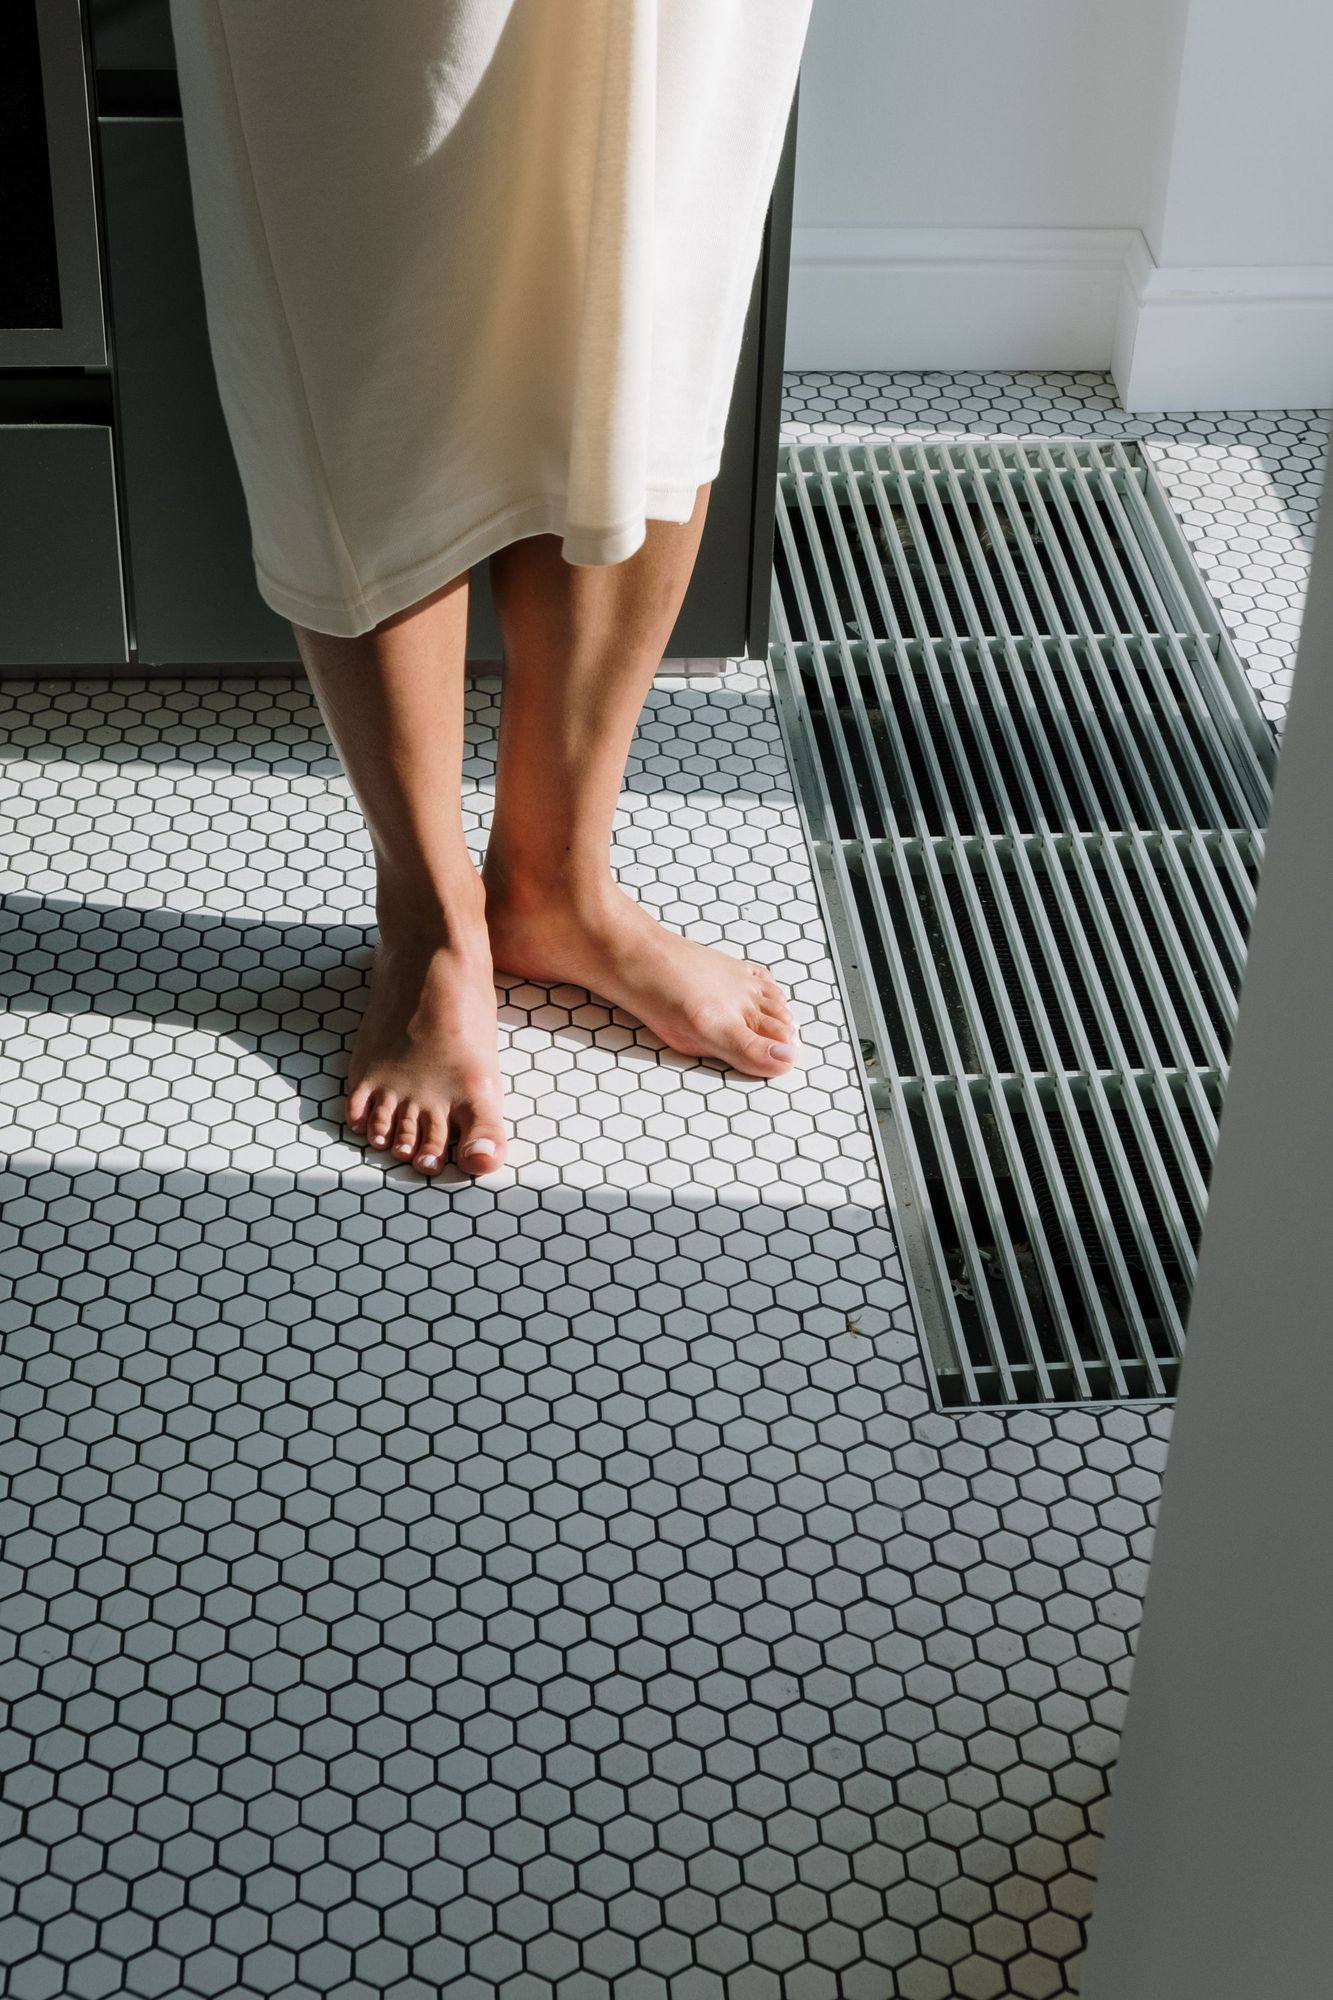
Approve the waterproofing system and its connections before tile conceals them. A bathroom can look complete while water finds a route at the drain, wall-to-floor joint, threshold or pipe penetration. Treat the finish and the waterproofing as separate functions in one coordinated floor and wall assembly.
This checklist helps owners and project teams ask the right questions. The selected manufacturer’s instructions and applicable requirements should determine the actual products, dimensions, curing and testing procedure.
Decide what the waterproofing system includes
Ask for the membrane type, compatible substrate, primers, joint treatment, corner accessories and connection to the drain. Clarify the intended coverage on floors and walls, including shower zones and transitions to other rooms.
Do not assemble a system from unrelated products simply because each is labelled waterproof. Compatibility of membranes, adhesives, boards and drains should be established by the specification and supporting instructions.
Identify who owns the complete assembly. If the plumber supplies the drain and the tiler supplies the membrane, their interface must still have one agreed detail before either begins.
Check the substrate and levels
The membrane needs a suitable surface. Ask whether the substrate is stable, clean, appropriately prepared and compatible with the selected system. Identify cracks, movement joints and areas where further preparation is required.
Review the levels from the bathroom entrance to the shower and drain. Falls, waterproofing position and finished tile levels should be coordinated rather than improvised by adding adhesive late in the process.
If underfloor heating is included, confirm the complete assembly and sequence with both manufacturers. Heating, waterproofing and floor finishing should agree on curing, testing and initial operation.
Inspect the connections where water can escape
| Location | Question before closure |
|---|---|
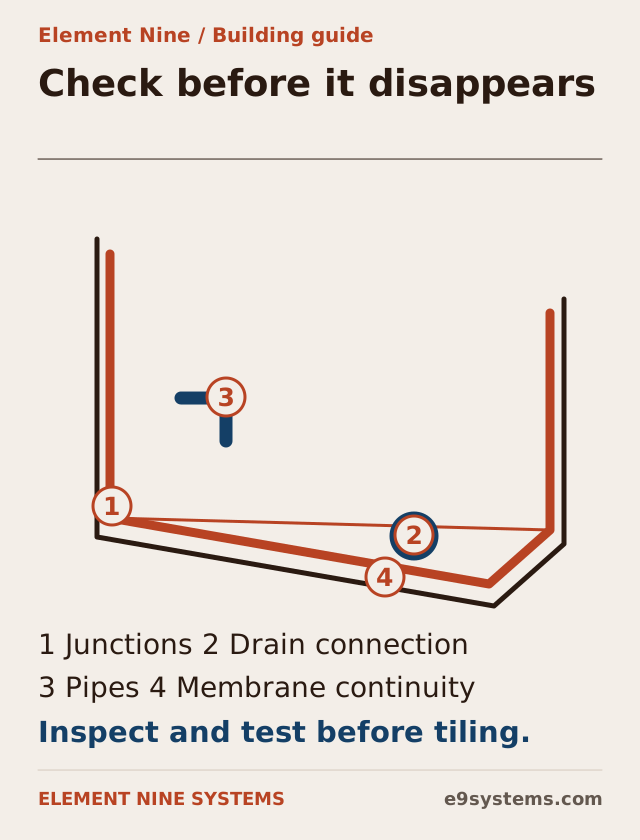
| Floor-to-wall joint | How is the membrane continued through the change of plane? |
| Internal and external corners | Which compatible accessory or method is specified? |
| Drain connection | How does the membrane connect to the selected drain body? |
| Pipe penetration | What seals the pipe-to-membrane interface? |
| Door threshold | How is water contained without compromising access and levels? |
| Niche, bench or ledge | Are all wet surfaces and edges included in the detail? |
| Later fixing | How will screws or accessories avoid compromising waterproofing? |
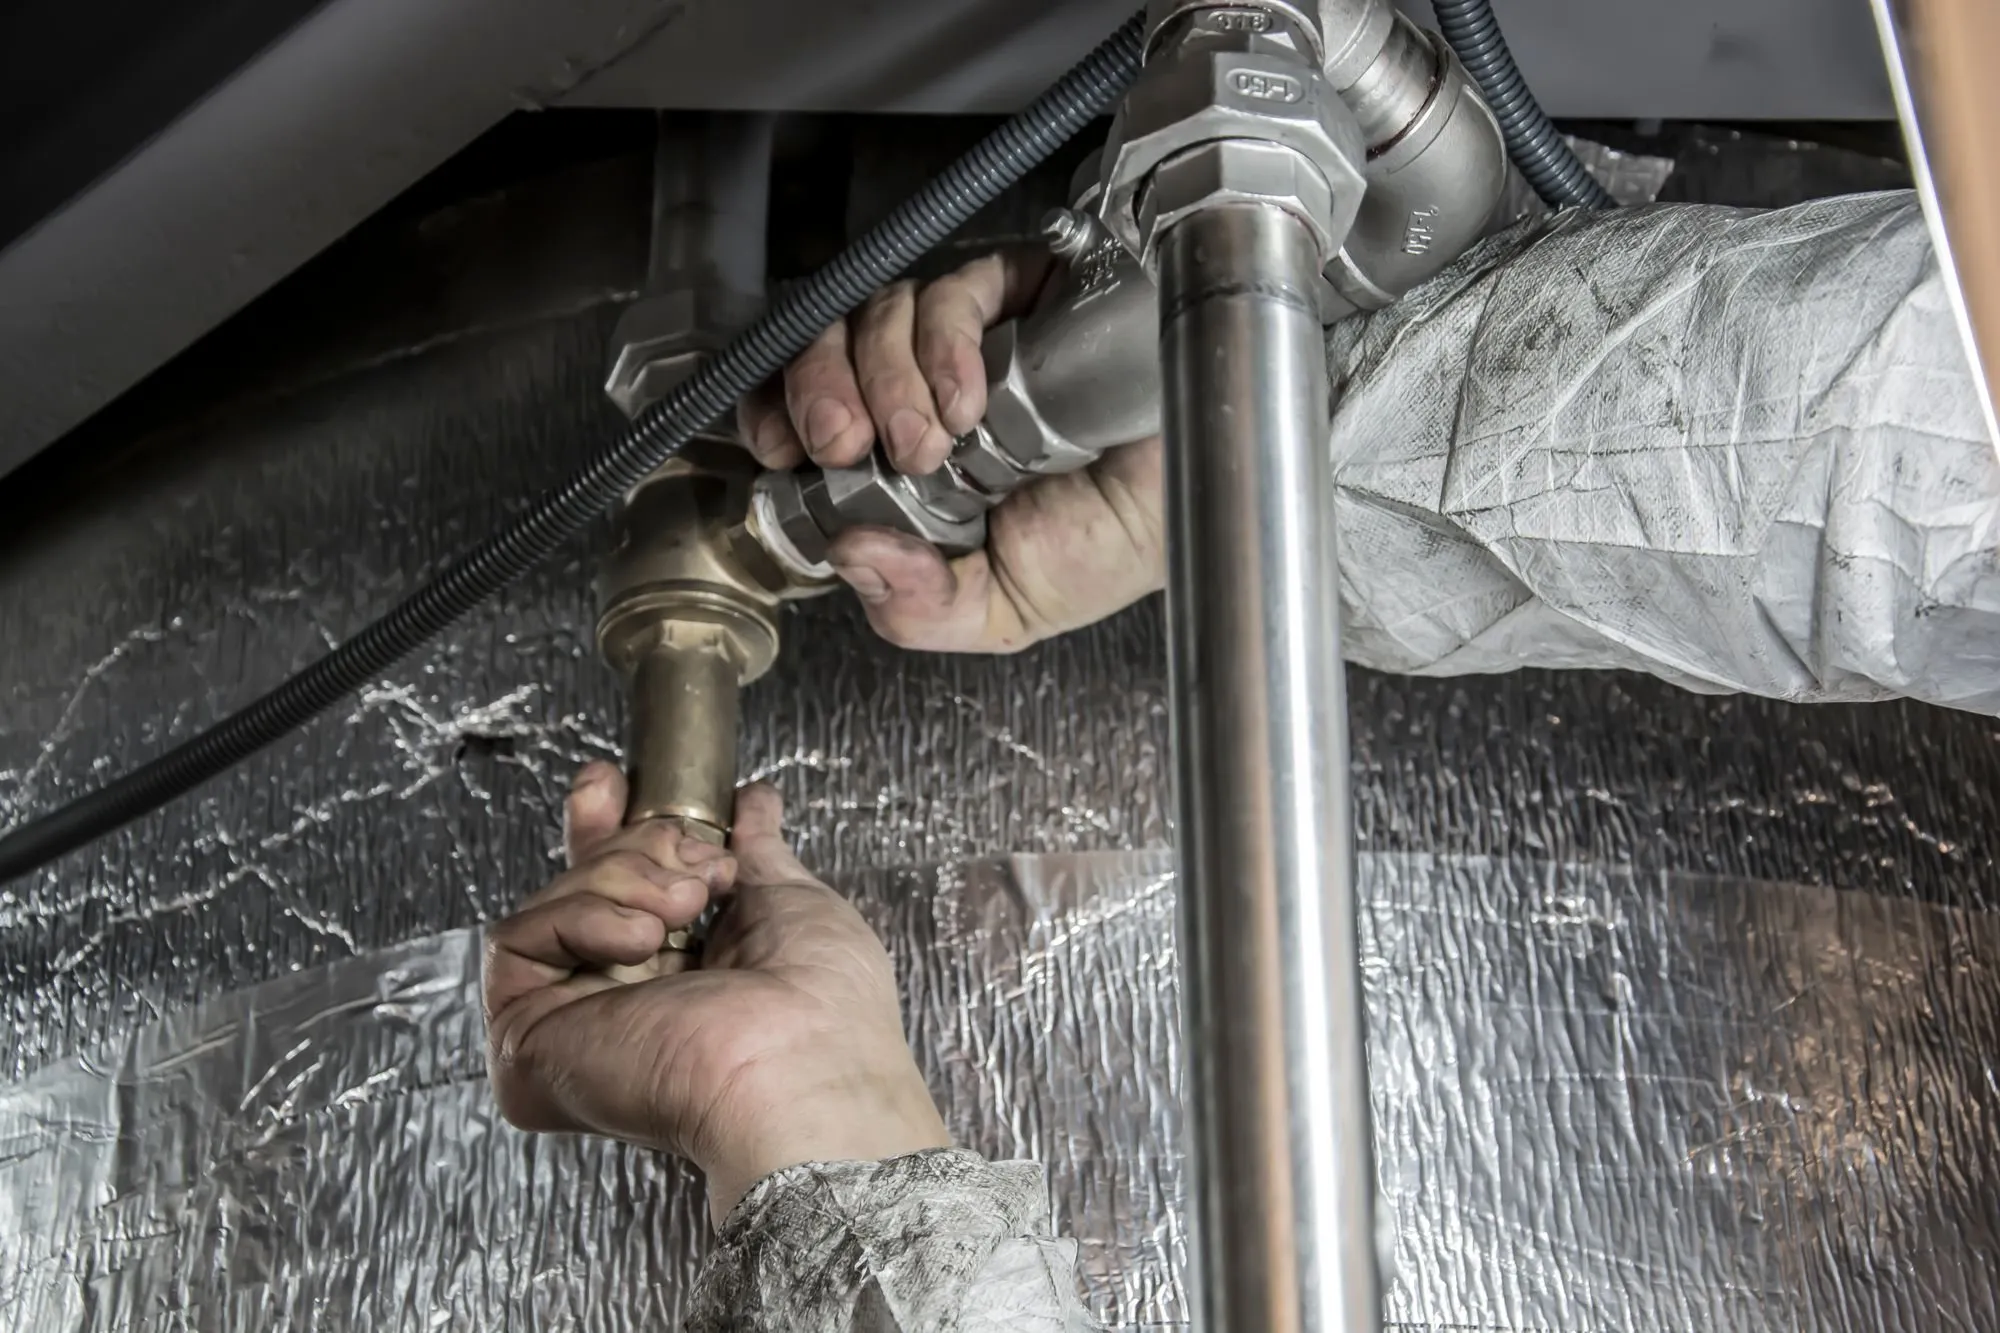
Photograph these locations before tile goes on. A broad image of the floor is useful, but close-up records of the actual joints make the installation more reviewable.
Ask for product-specific coverage and curing
Liquid-applied and sheet systems have different installation checks. The manufacturer may specify coverage, thickness, overlaps, bonding, reinforcement and environmental conditions. Ask how the installer records compliance for the selected system.
Curing and waiting times are product- and condition-specific. Cold construction conditions can affect the programme. Do not accept a generic instruction that every membrane can be tested or tiled after the same number of hours.
Keep current product instructions on site and record the products actually used. A substituted adhesive or membrane should be reviewed before installation, not discovered at handover.
Agree the water test before tiling
A suitable water test can check the waterproofed shower base before it is concealed. Schluter describes a water test for its shower system, including the need to follow its curing instructions before testing. Those instructions apply to that system; they are not a universal procedure for every bathroom product.
Ask the installer to specify the test method, preparation, duration, acceptance criteria and who witnesses it. Define how any failure is repaired and retested before work continues. Coordinate the procedure with the drain and any temporary containment required.
Do not confuse this check with a pressure test of water-supply pipes or a test of waste connections. They examine different parts of the bathroom and may all be needed in the project scope.
Protect the completed layer from later trades
Once waterproofing is inspected, agree how it is protected while tiling and other work proceed. Avoid uncontrolled fixings, dropped tools or unreviewed service changes that damage a layer already signed off.
The final tile and grout specification should be compatible with the assembly. Movement joints and changes of plane need the selected system’s appropriate treatment. A visually tidy rigid joint is not automatically a suitable technical detail.
If equipment or glass screens require anchoring, plan the fixing and sealing method in advance. Do not leave penetrations through wet-zone waterproofing to the last person on site.
Retain a handover record
Keep the membrane specification, installation photos, test record, concealed pipe routes and maintenance instructions. Identify the installer and the responsibility for later damage or alterations.
For future refurbishment, these records help distinguish a grout-maintenance issue from a defect in the waterproofing or plumbing. They also show where services run before somebody drills through a finished wall.
Does new grout stop a leaking bathroom?
Not necessarily. Grout condition is only one part of the assembly. A leak may involve the membrane, drain connection, plumbing or another interface, so investigate the cause before choosing a surface repair.
Should the bathroom be tested after tile is installed?
Final operational checks can still be useful, but they do not replace inspection and appropriate testing while the membrane is accessible. Define both stages in the project scope.
Ask for the detail before the finish
Send the bathroom plan, selected drain and membrane, heating details if relevant, and current site stage. Element Nine Systems can discuss waterproofing with plumbing and flooring, so the finished bathroom rests on a checked assembly.