InsulationKashmir10 October 20265 min read
Roof insulation in Kashmir: plan for heat, moisture and snow.
Understand cold lofts, insulated roof slopes and terrace roofs before insulating a Kashmir home. Coordinate air sealing, drying, drainage and roof details.
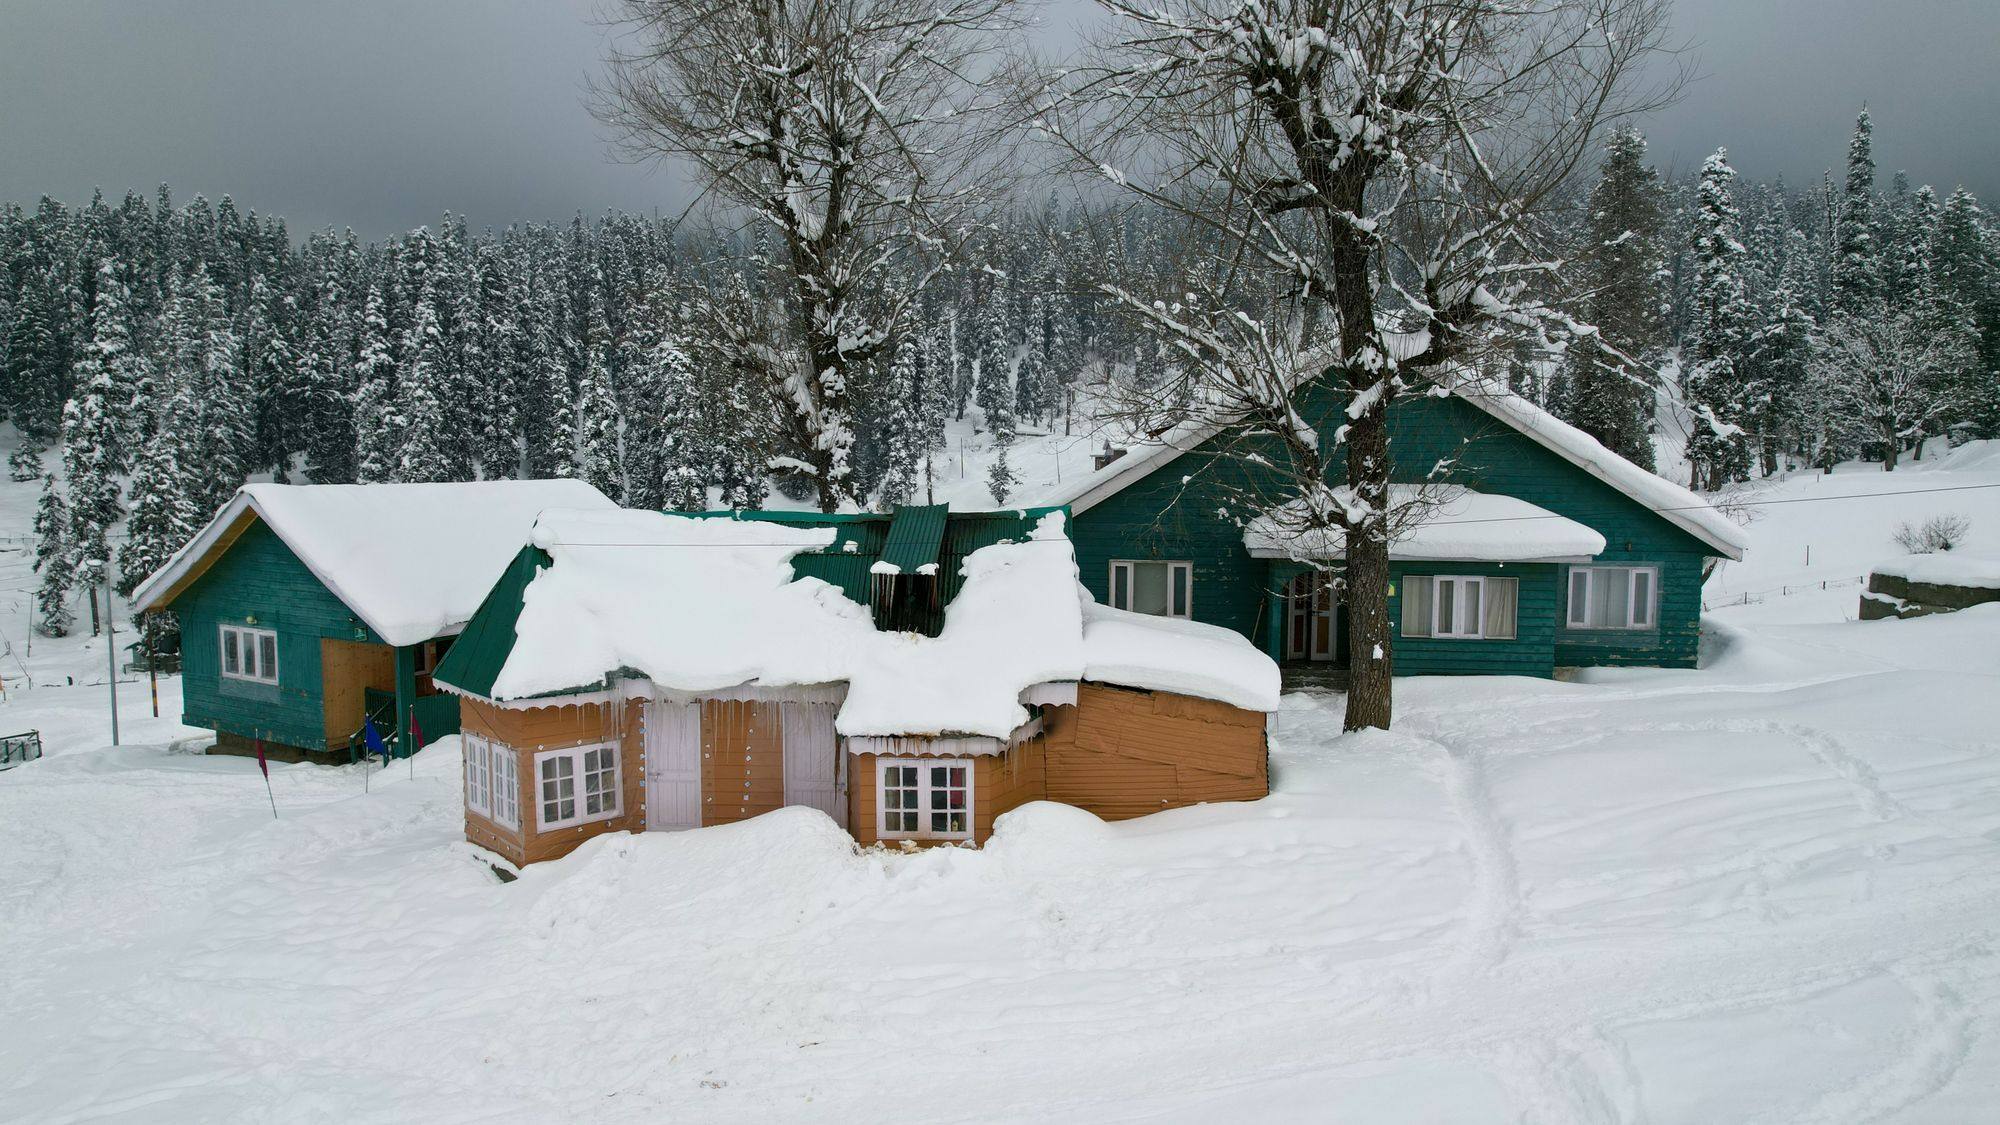
Before insulating a roof, establish where the heated space ends and how the roof assembly keeps water out and dries. Insulating a cold loft at ceiling level is a different project from insulating the slopes around an occupied attic. A concrete terrace needs another build-up again.
In Kashmir, a roof has to deal with heat leaving the house as well as rain, snow and meltwater outside. A good proposal coordinates those duties. A material name and thickness alone do not describe a complete roof-insulation design.
Draw the boundary of the heated rooms
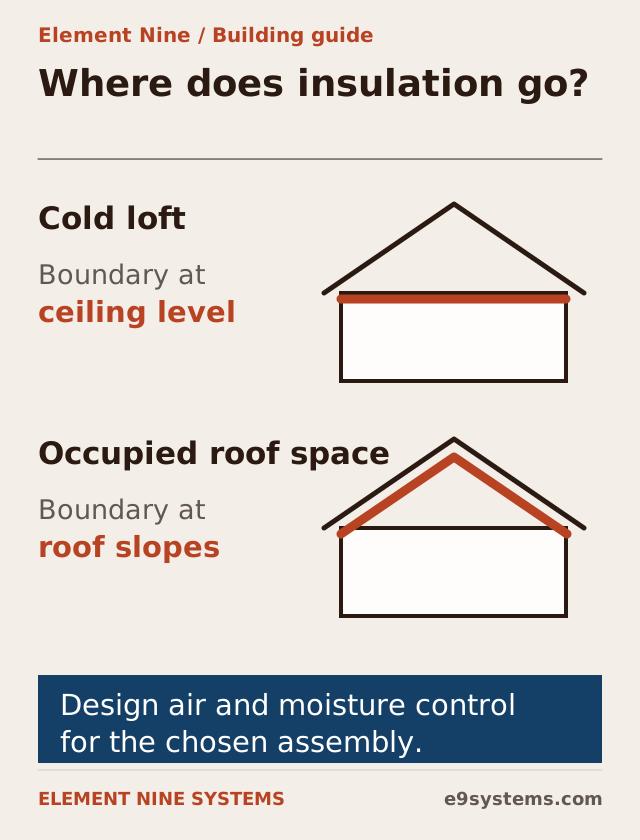
If the loft is unheated and used only for occasional access, the thermal boundary may belong at the ceiling below it. If the attic contains bedrooms or a regularly used living space, the boundary may follow the roof slopes and surrounding walls.
Ask for a section showing the insulated line. Mark the access hatch, eaves, dormers, roof windows and any small side spaces. Insulation that disappears behind a partition or stops before the eaves leaves an incomplete boundary even when most of the visible area is covered.
Make the decision before ordering material. Moving the boundary later can mean relocating services or adding another layer that conflicts with the first.
Understand a cold-loft proposal
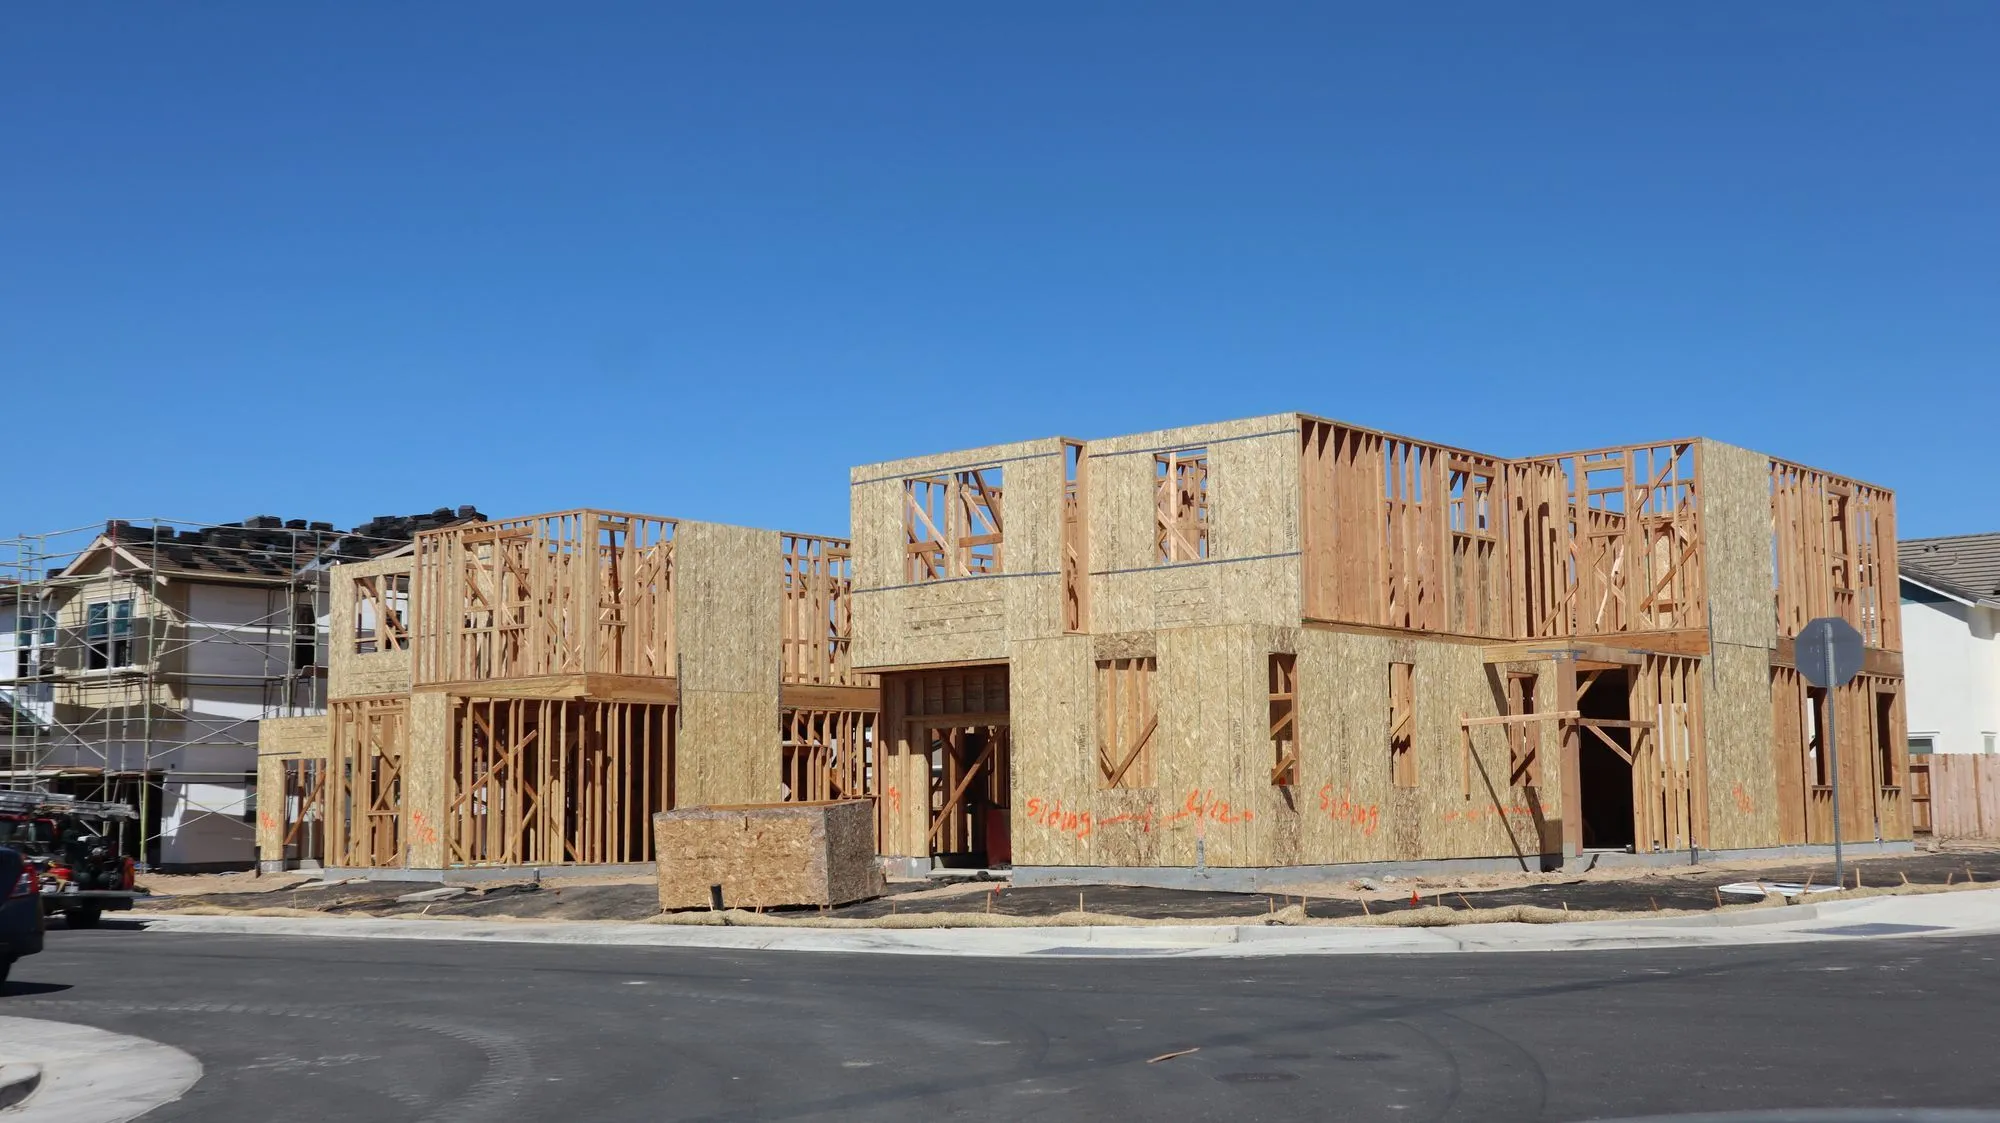
A cold-loft design typically keeps the occupied rooms below insulated while the loft remains outside the heated enclosure. The specification should address the ceiling’s air leakage, the insulation layer, access and the intended roof ventilation path.
Check whether storage platforms will compress the insulation or interrupt its depth. Ask how someone reaches equipment without trampling the layer. The hatch needs a detail too: it should not remain a large uninsulated opening in the otherwise completed ceiling.
Wiring, lights, flues and other services need coordinated clearances and suitability checks by the relevant trades. Do not bury equipment simply because the surrounding ceiling is being insulated.
Understand an insulated-slope proposal
When the roof encloses occupied space, insulation, air control and moisture control move closer to the roof covering. The assembly must be designed for the existing deck, covering, climate and internal conditions.
Ask where moisture could accumulate and how the construction can dry. A vapour-control layer and an airtight layer may perform different functions, even if a particular product does both. Their joints and penetrations are as important as the flat surfaces.
There is no safe universal instruction to fill every rafter bay with foam or mineral wool. The position of layers and the need for ventilation depend on the chosen assembly. Existing timber condition and past leakage should be assessed before it is concealed.
Connect insulation and snow-melt behaviour
The Pacific Northwest National Laboratory’s ice-dam guide describes how heat escaping towards a snowy roof can contribute to melting, followed by refreezing at colder edges. That can obstruct runoff and lead to water backing up.
Its cold-climate principle is useful: coordinate air sealing, insulation and the roof’s intended ventilation. Its US code references and standard construction details are not a substitute for a local roof design.
Uneven snow patterns are an observation to record, not a reliable insulation test on their own. Sun, wind, shade and roof geometry also affect melting. If leakage follows snowmelt, use our Kashmir roof-leak guide to organise the investigation.
Treat a concrete terrace as its own system
A terrace roof needs a coordinated insulation and waterproofing build-up, including falls, drainage, upstands, door thresholds and penetrations. Adding a layer changes levels and can reduce the effective height of existing waterproofing details.
Ask whether the selected insulation is suitable for its position and expected loads. Confirm how the waterproofing membrane is protected, how drains remain accessible, and how the build-up ends at parapets and edges.
If people use the terrace, include the wearing surface and maintenance access in the design. “Waterproofing above” and “insulation below” are not enough unless someone owns the connections between them.
Use this checklist before approving the work
- Identify the heated boundary and the roof type on a section.
- Record leaks, stains, damaged timber or wet existing material.
- Show continuous insulation at eaves, edges, hatches and roof openings.
- Identify the airtight and moisture-control layers and their joints.
- Preserve or redesign the assembly’s ventilation and drying strategy.
- Coordinate wiring, flues, ducts and other penetrations.
- Confirm drainage, waterproofing levels and maintenance access.
- Define inspections before concealed work is closed.
The structural engineer must separately establish the roof’s load capacity and required snow-load design. Insulation work does not certify a roof as safe for accumulated snow, and roof access in snow or ice is not a homeowner inspection task.
Can insulation be installed below a leaking roof?
The source of water entry should be investigated and repaired first, and affected construction allowed to dry as appropriate. Covering a leak can hide damage and make future repair harder.
Is more insulation always better?
Extra thickness can reduce heat transfer, but the assembly still needs correct layer placement, fixings, continuity, drying and service clearances. A well-detailed specification is more useful than maximum thickness without a design.
Start with the section, not the shopping list
Share roof photographs taken safely, a section if available, whether the loft is occupied, and any history of leakage or top-floor discomfort. Element Nine Systems can discuss roof and envelope insulation alongside waterproofing, so the layers are planned as one roof.